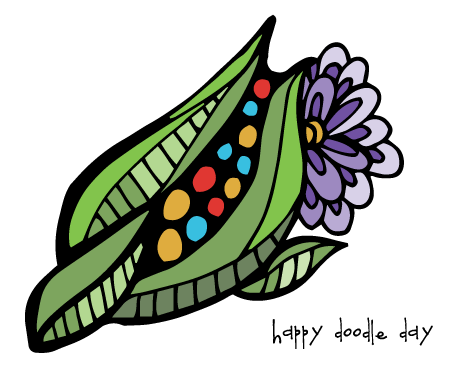
 So, I've finally worked out a technique I'm comfortable with -- doodling on paper, then importing into Adobe Illustrator. Surprisingly, as long as the lines I drew were nice and solid, I was able to do a Live Trace in the program and add color.
And, guess how I imported it?? With my iPhone! (Hallelujah! Halllllelujah!) Quick and Easy!
I took a photo in good lighting with my phone then adjusted the levels with the Afterlight app -- The settings I used in Afterlight: Clarity first to bring out the black lines, then Brightness to lighten up the paper, then Contrast to bring out both the highlights and shadows. That order worked best.
Then I just emailed the file to myself, copied the image and pasted it into an Illustrator doc. I used Image Trace to turn it into a scalable vector image. I'm not opposed to tracing the images by hand using the pen tool or brush tool with my Wacom tablet, but I was happy for this quick fix now. Here are the settings I used:
Open the Image Trace Window to adjust settings.
I used default values, except for:
Threshold: 200
Paths: 90%
Corners: 90%
Noise: 25px
I'm assuming I'll need to use different values for different images, depending on the level of detail drawn, but I think this is a good starting point.
Once the trace is done, Object > Expand will reveal the paths around your image. You can select the shapes and color them or use the Live Paint feature to make it a little faster.
I'm really happy with how clean the final product is and can't wait to digitize some of my new doodles and zentangles!


2 comments:
Really loved that you shared how this was done! You should offer a tutorial pdf or ebook once you get more of these.
Thanks!! These are so fun!
Post a Comment